Bronze Jib Hank
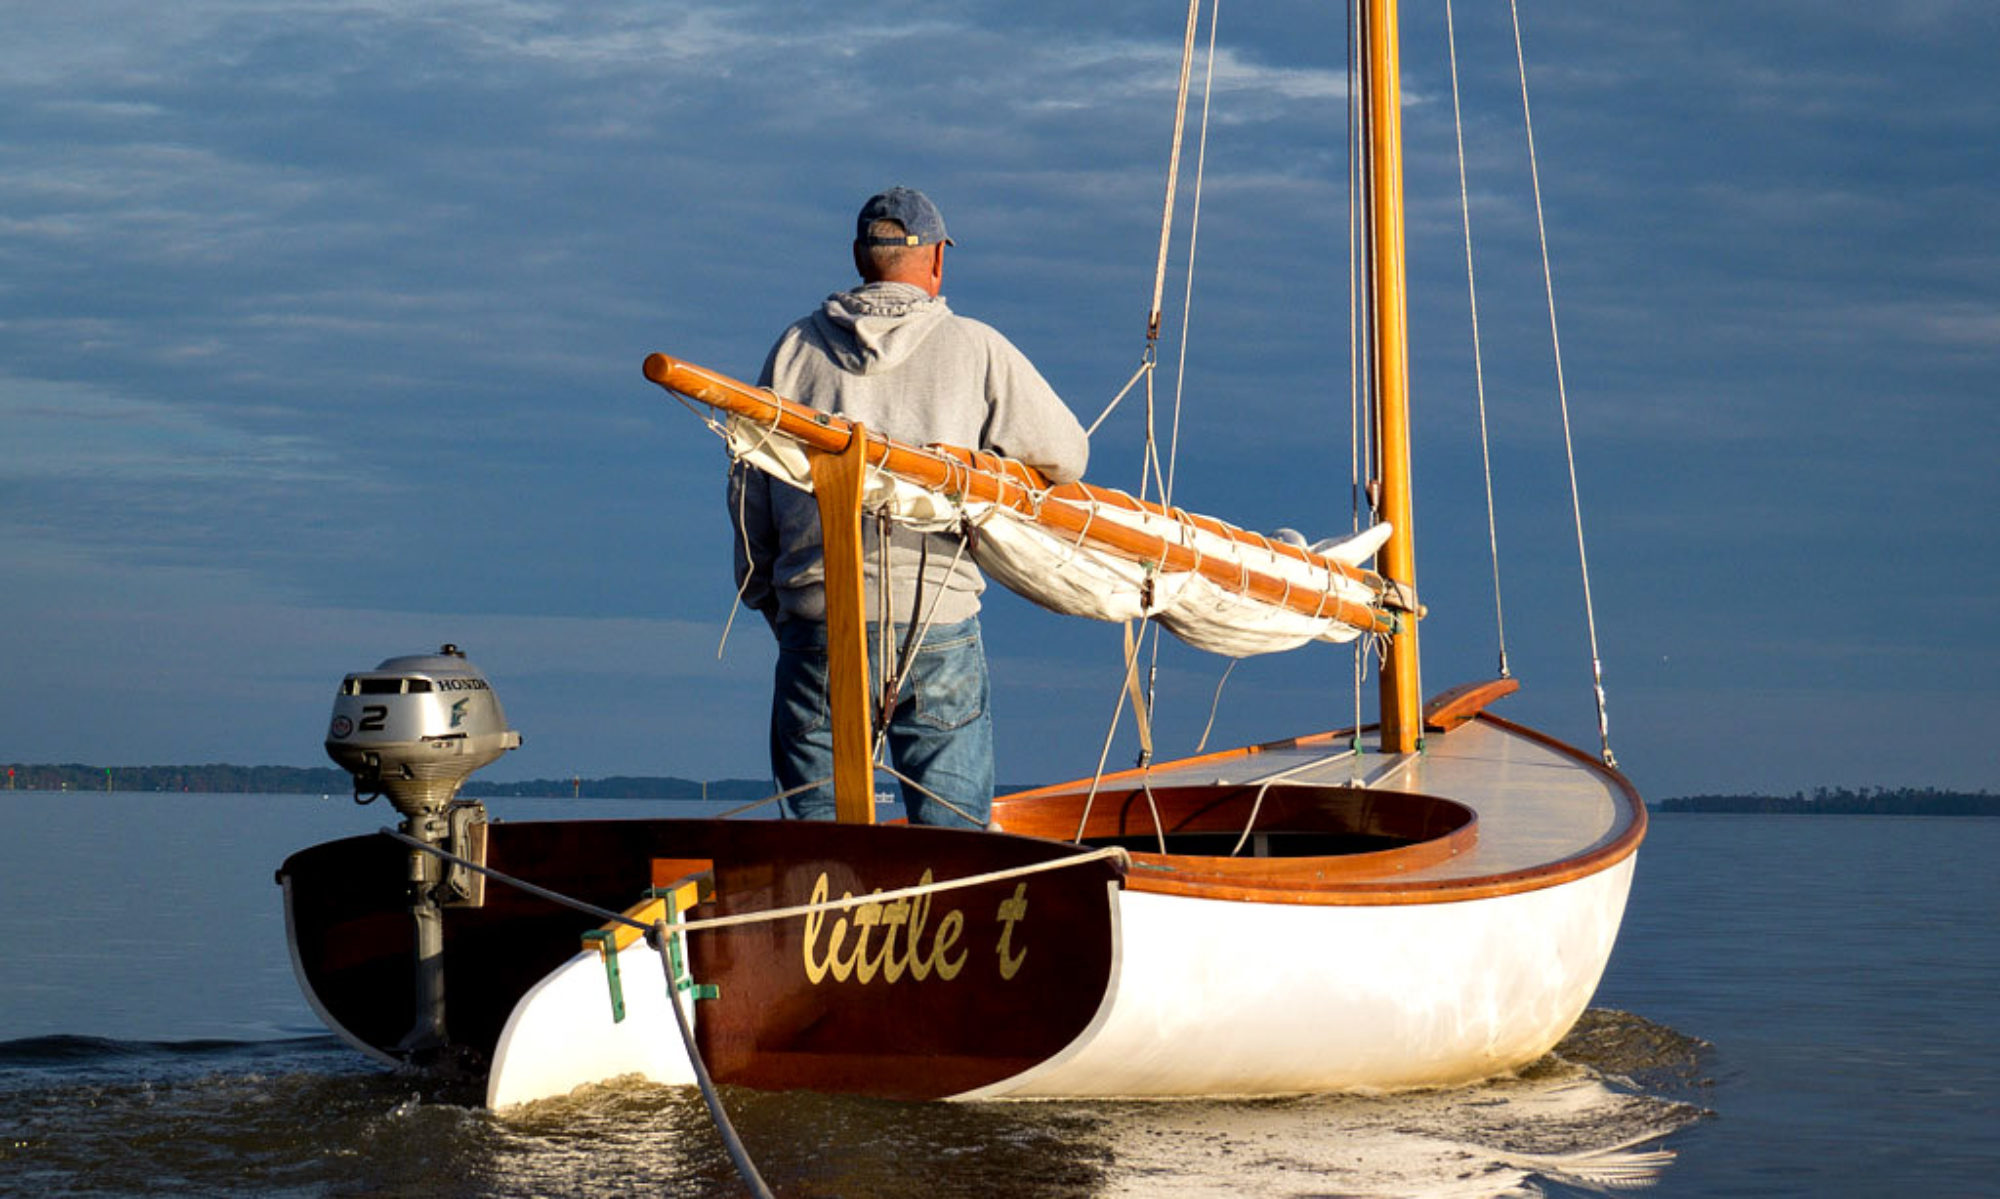
With the Chesapeake Float and the Urbanna Small Boat Meet only two weeks away, time is getting short if this old Lightning is going to make a debut. Doesn’t help that it’s been raining for days.
I received a new set of used sails, suitable for cruising, from Gerry Paoli, who restored an old woody some time ago. It includes a newer mainsail with one set of reef points, and a full size jib cut to the modern racing size. They are in much better shape than the old original sails I have. The North racing sails have no reefs, so not sure how often I will use those. These received from Gerry may become my primary set.
The old original jib is cut a little smaller, and besides being a bit more moderate in a big wind, offers more visibility from the cockpit. So I may end up mixing and matching old and older to get the right balance for conditions. The old original jib has some cotton thread stitching, though, that is worn and fragile. When Scott and I raised the jib last weekend, one of the hanks came loose. We looked up and saw it dangling from the forestay.
Last night it found a fat needle and some polyester thread and took a shot at sewing it back on. Not too hard, but we’ll have to see how it holds up. Looks like several others have been re-sewed or reinforced over the years. I may start carrying a ditty bag on board.
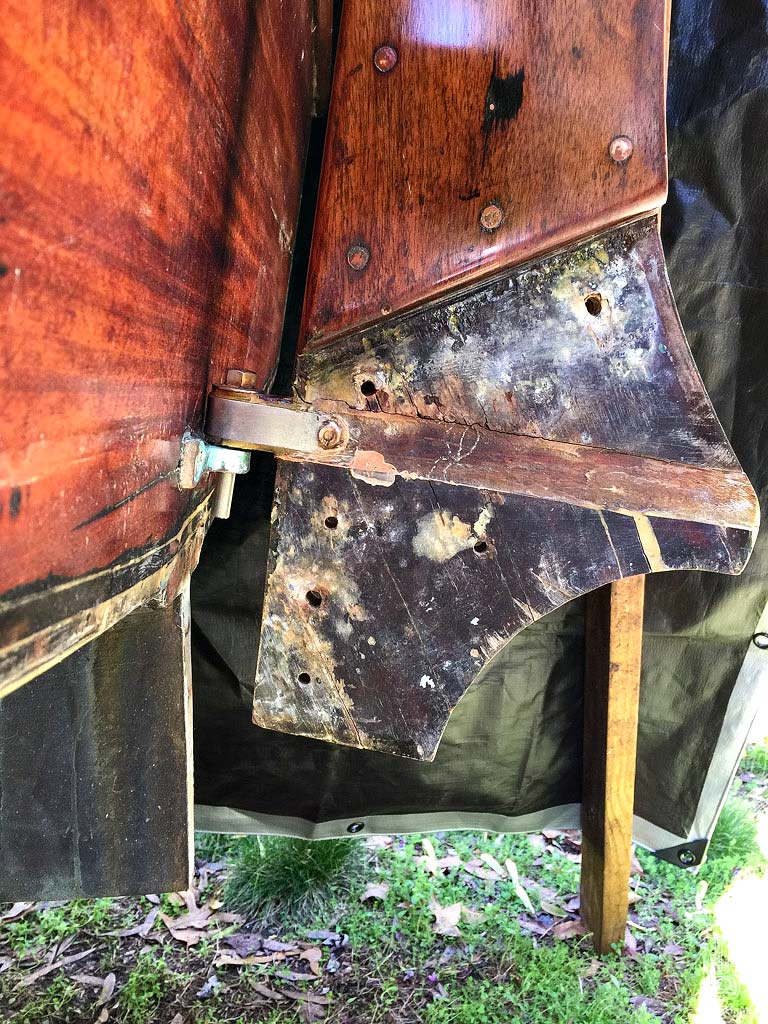
The rudder has proven to need more work than expected. When I pulled out the belt sander to clean it up, the lower part of the stock, which needs to be really strong, almost fell to pieces in my hands. Not good.
So after studying on it a bit, I thought it could be salvaged with a layer of epoxy and fiberglass on each side.
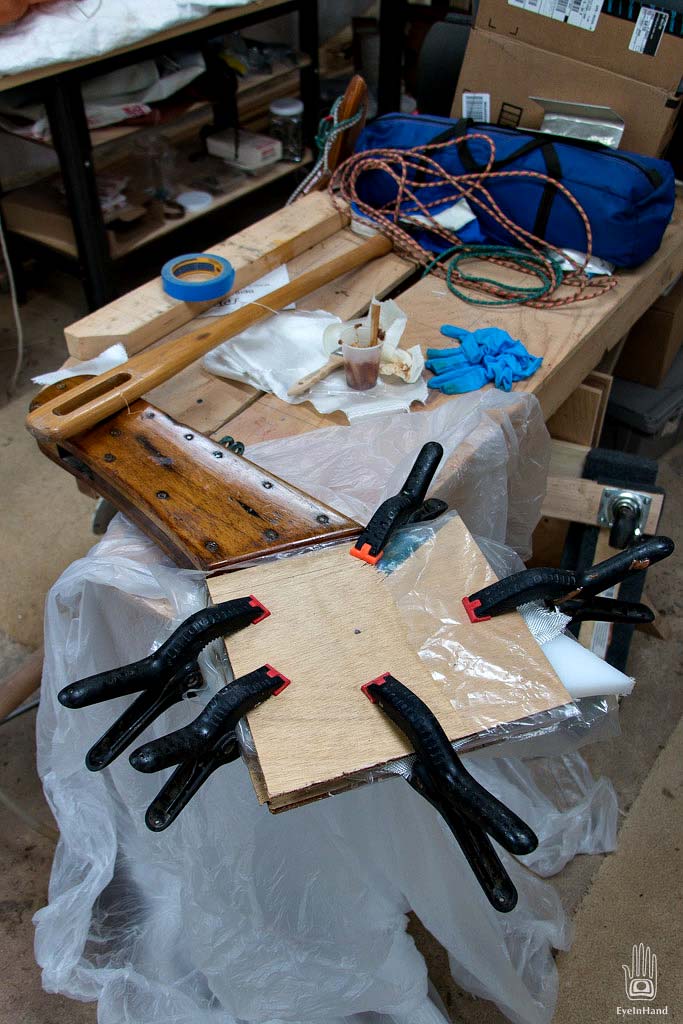
Yesterday I filled the holes and cracks with thickened epoxy, then saturated the wood, then applied a layer of glass to each side, finally filling the weave with a heavy film of more epoxy. I laid down a layer of plastic on each side and pressed it flat with clamps and plywood to make a tight, flat sandwich.
For spacers I used chunks of the same UHMW Poly that will be used for rebuilding the cheeks and leading edge. This allows the clamped sandwich to level out the wood to a fairly even surface of the right thickness. In the morning, while the epoxy was still soft, I pulled off the plastic and easily trimmed off the excess glass and goo with a razor blade to make a nice clean edge. It’s plenty strong now.
Next up was to plane down the rudder blade. It was too thick for the stock, which is one reason it didn’t work as a kickup rudder as designed. The stock is 3/4″ and the blade is a full 1″ thick. When the black metal cheeks were tightened down, the whole thing seized up. So the blade needs to be shaved down to a little less than 3/4″, allowing for a sealer coat epoxy or varnish or both.
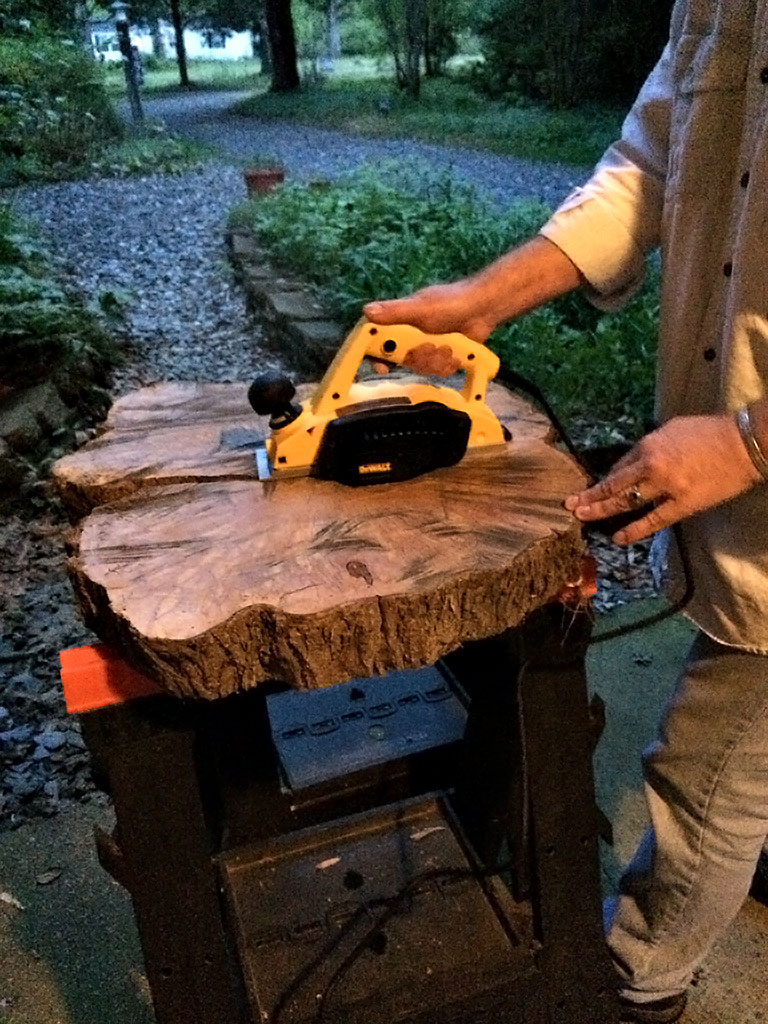
I had not used this new power hand plane before, so I wanted to practice on something else first. I’ve been saving these spalled maple slabs from a tree that fell down in the yard over 15 years ago, until I had a power hand plane. Well, now I do, so I gave it a go.
The dang thing is noisy as heck and throws out a plume of sawdust. Some guy walking down the road took a detour to come see what was going on at 9 o’clock at night.
Audio: Planer on Maple Slab
But the results are nice. Oiled up, the wood patterns should really pop, and will make an interesting side table.
Worked really well, and wasn’t that hard, so I went to town on the rudder blade. It now weighs a lot less than it did before. It also has a better foil shape.
Next up will be cutting the cheeks and figuring out the lifting and holding-down cord arrangements.
Repaired stock, blade before planing.


