First Launch for Aeon
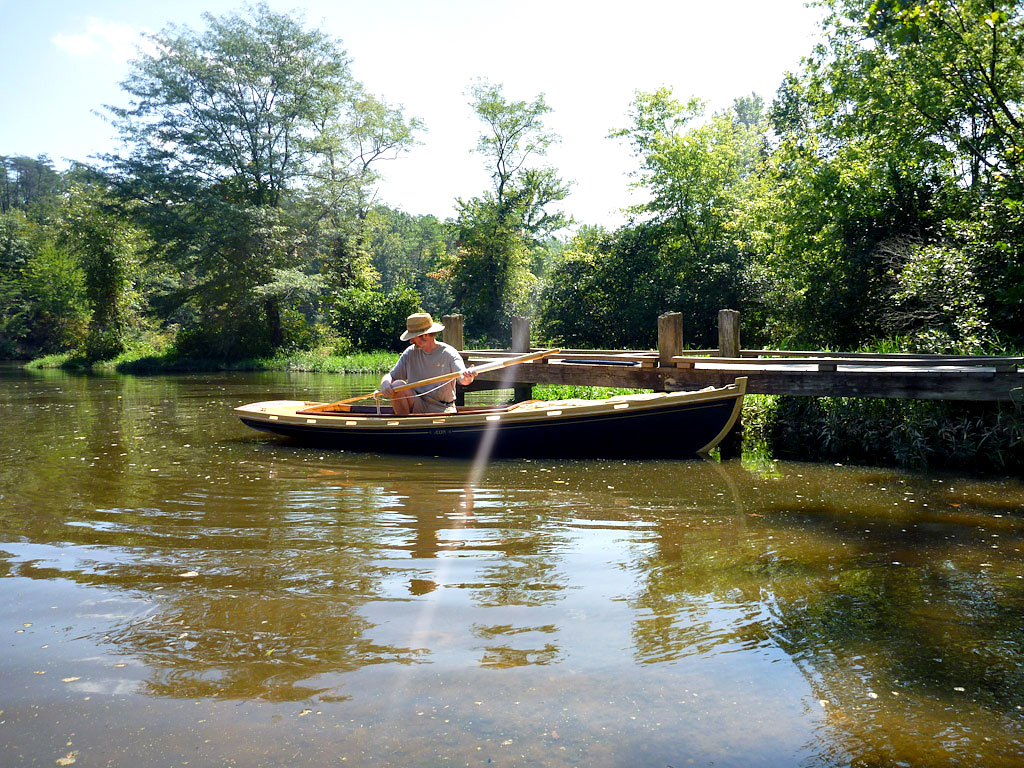
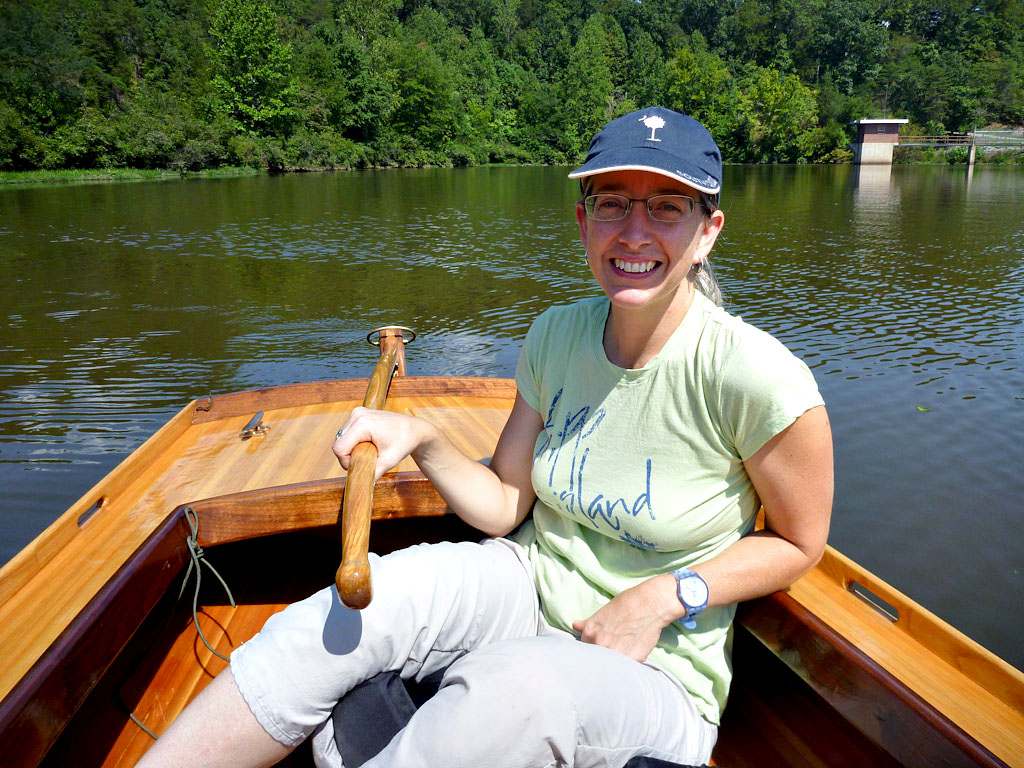
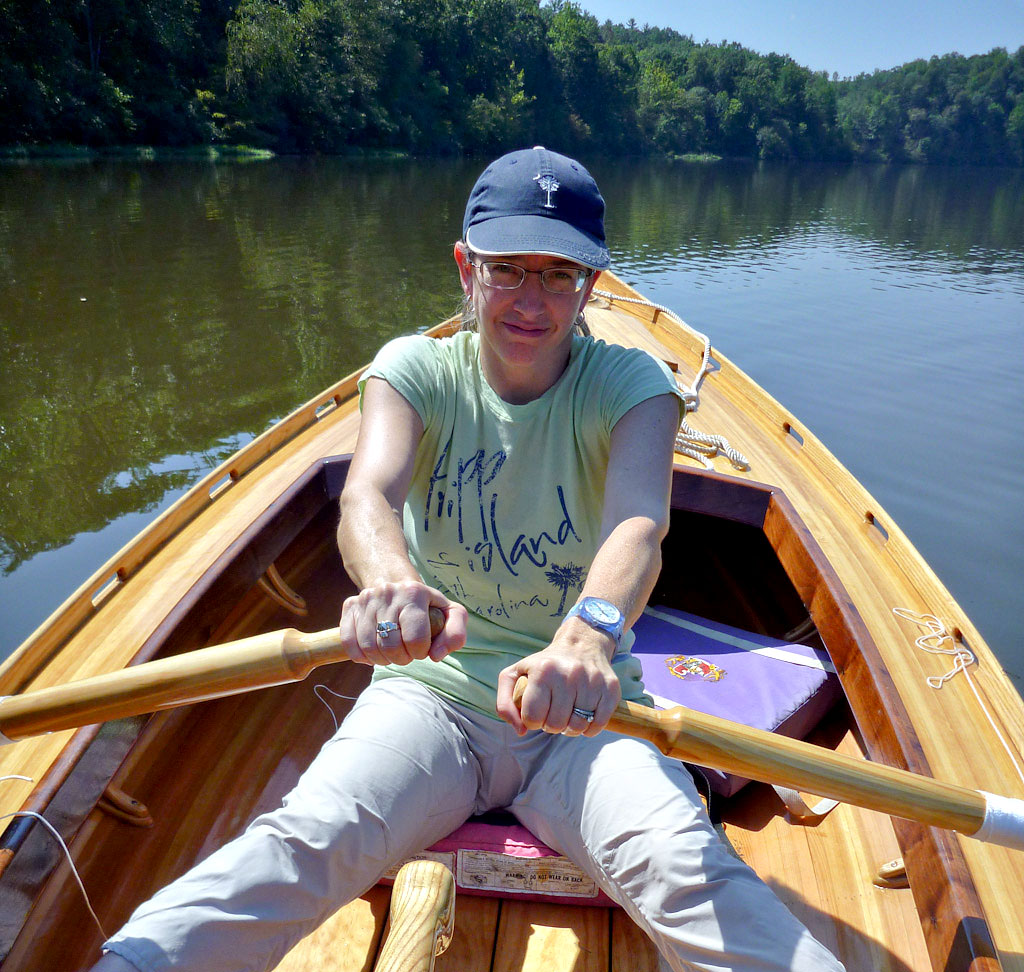
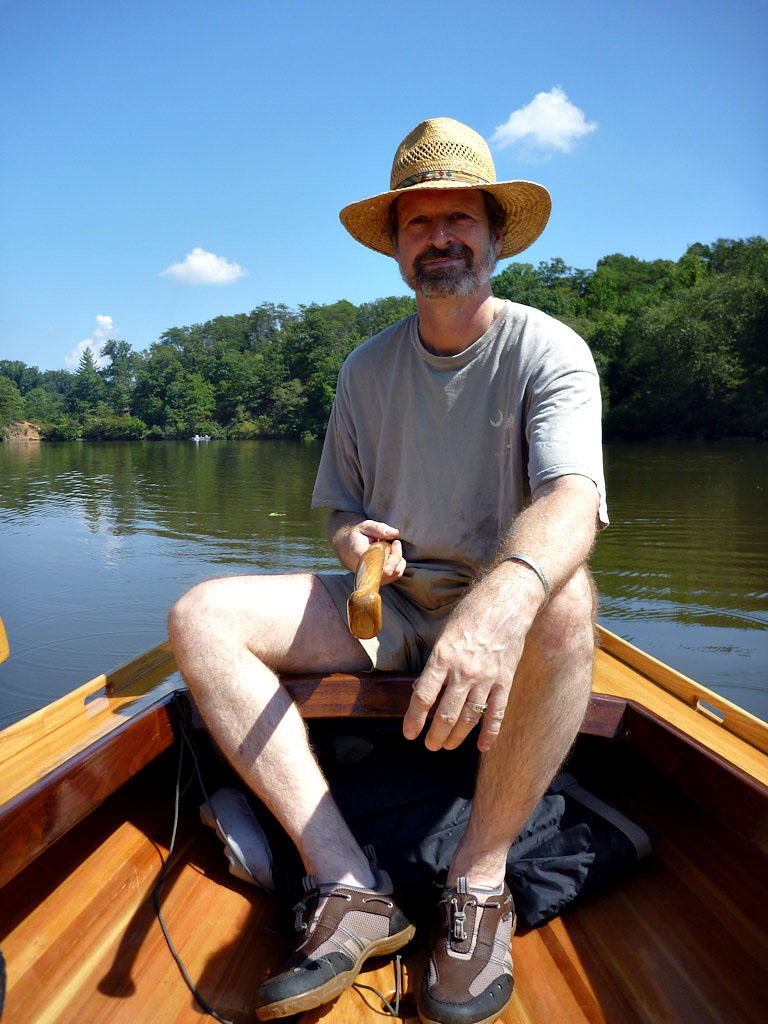
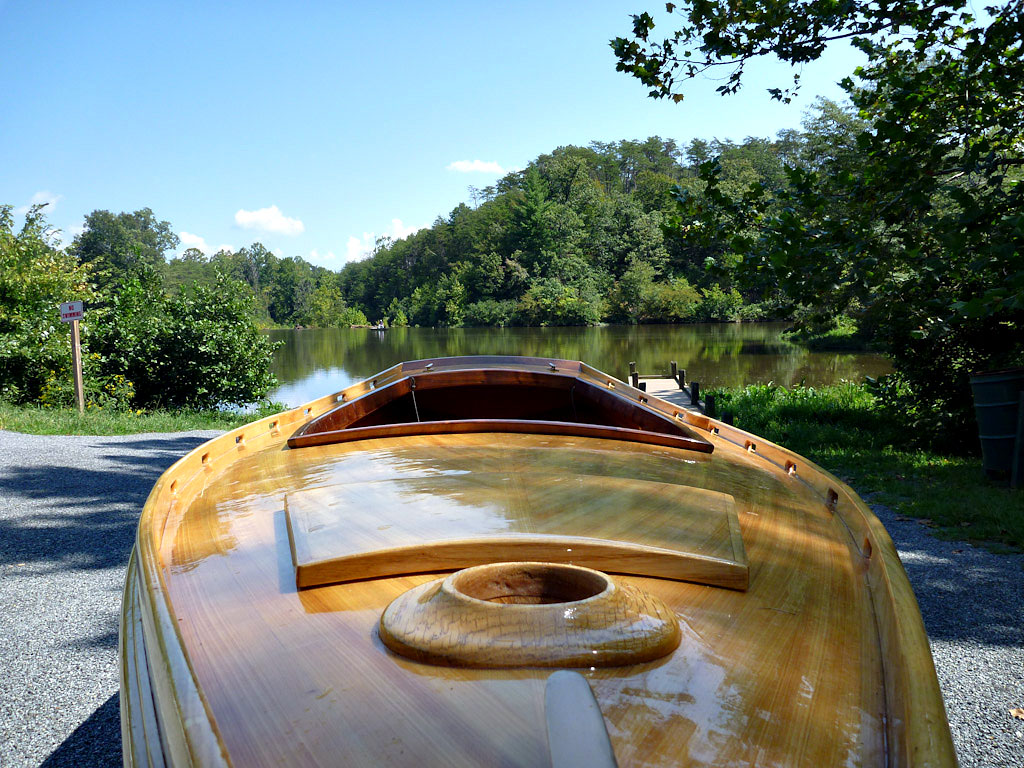
With the spar varnish good and dry, we got a couple of water tests done the last few days. All very brief – an hour rowing with Terri on Sunday, another hour alone on Monday – but enough to test and fine tune a few details before a big “official” launch. So this week has been spent applying what I learned and prepping the sail rigs. And the good news is . . . SUCCESS!
I learned a few things that first day rowing, and made some adjustments, then had to try them out and verify others on Monday. Dialing it in a little at a time.
I was not so cautious with my first launch of the sharpie several years ago. We had motored around in a local pond just for fun and to make sure she floated; but the first time I tried to sail her was in too much wind on too much water. It was a bit of a fiasco, and I was right to be nervous from the start.
Terri laughs when she tells the story. We had gone to the York River – a very long, very straight tidal estuary near Williamsburg. She couldn’t tell I was nervous, I seemed my usual cool calm self. When I locked the keys in the van, yes, she got a little suspicious, as that was “so unlike him” (I had no trailer then, the boat just stuffed inside the van and hung out the back.) Then, as a precaution, I said I would just take a quick test sail then come back to get her. She watched me sail away, and keep sailing, out of sight. And not come back for a long time. She did not get to sail at all that day.
What she didn’t know is I was a nervous wreck. I knew a lot of things could go wrong the first time out, and the wind had picked up considerably, blowing straight down the river. There were white caps and some serious chop built up at the end of 10 miles of fetch against an outgoing tide. But we had driven two hours to go sailing.
I launched and headed out. The boat was not made for rough water, but it was just manageable. Then the gooseneck on the mast broke and I lost any ability to tension the sail or tack. Suddenly it was like I was holding a huge pillow case up in the wind, and I couldn’t turn around. I tried and tried, but there was no way to tack. I had to sail clear to the other side, beach the boat, turn it around by hand, tighten the sail as best I could, and try to make a beeline straight back to the ramp. I managed to get back, just barely, with no real harm done. Well, except for Terri’s feelings, and the van window we had to break to get back in. But I learned a valuable lesson.
This time I knew to test things out slowly before going whole hog. First of all, I wanted to make sure the oars worked. Very well. If something breaks loose, I want to be able to pull the sails down and row as far as necessary to get back, or at least safely to shore. Also, a couple of critical components are not “built to spec.” The Centerboard design is completely new and untested, besides the fact the plans don’t even HAVE a centerboard.
So Sunday we took one of the boats to Totier Creek reservoir, the small local pond on the edge of town. We took Aeon, just because she happens to be easier to get to at the moment.
These boats row like a dream. With the centerboard up and the rudder off, we can see taking them on short trips just for the rowing. The more equipped they are for sailing, the less fun the rowing, but still quite pleasurable, and when so riggeg you’ll likely just be pulling away from a dock, or back in a calm. You do need to either have someone tend the tiller or tie it amidship when alone. I was surprised that even with no tiller, the rudder would not stay neutral on it’s own. It will tilt one way or the other with just enough pressure on the passing water to throw you off course, but not enough to right the rudder.
The oars are the right length, and clear the water quite well at this height, though that may not be as true in rough water. We’ll see. We struggled a bit as novice rowers, clumsy.
I went back again on Monday. Wanted to try it again with a couple of modifications – and rower’s aids. I wrapped some bungie cord around the oars as stoppers to keep them from sliding out of the oarlocks. Huge improvement. Also, a rope athwart the cockpit for a footbrace. Another improvement if strictly rowing.
More importantly, I needed to spend some time with the Centerboard mechanism. I knew the buoyancy of the water would change things, so had held off adding a tie off cleat. I need something that binds in one direction and releases in the other, so the boards will still kick up when run aground or against an obstruction. They do sink fine on their own, so there needs to be something to keep them at a proper height, but it’s also nice to be able to pull them down quickly when needed. On their own, they sink to the full down position, just right for working close to the wind, and conveniently are buoyant enough that they dont’ sink farther. But there will be occasions when they need to be raised a bit.
For a few bucks you can get a cheap modern plastic jam cleat that actually works very well. I even have some from the old skiff. But on these boats they are just plain butt ugly. I know, I tried. Like a Punk Rocker at an Amish wedding. I have some extra bronze cleats, small ones, and was resigned to just using one of those. Trouble is, I’d have to mount it on the coaming, right in the most comfy leaning spot for a passenger – the Queen’s Seat – when rowing. The prospect of this made Terri’s lower lip protrude. And mine, too, frankly.
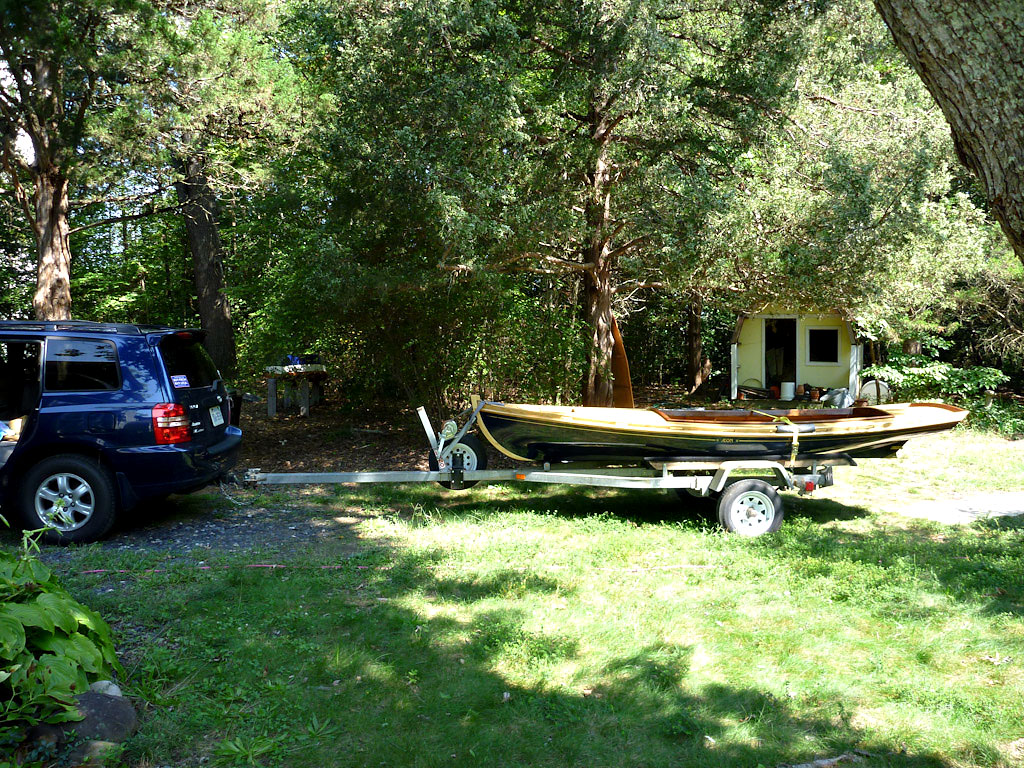
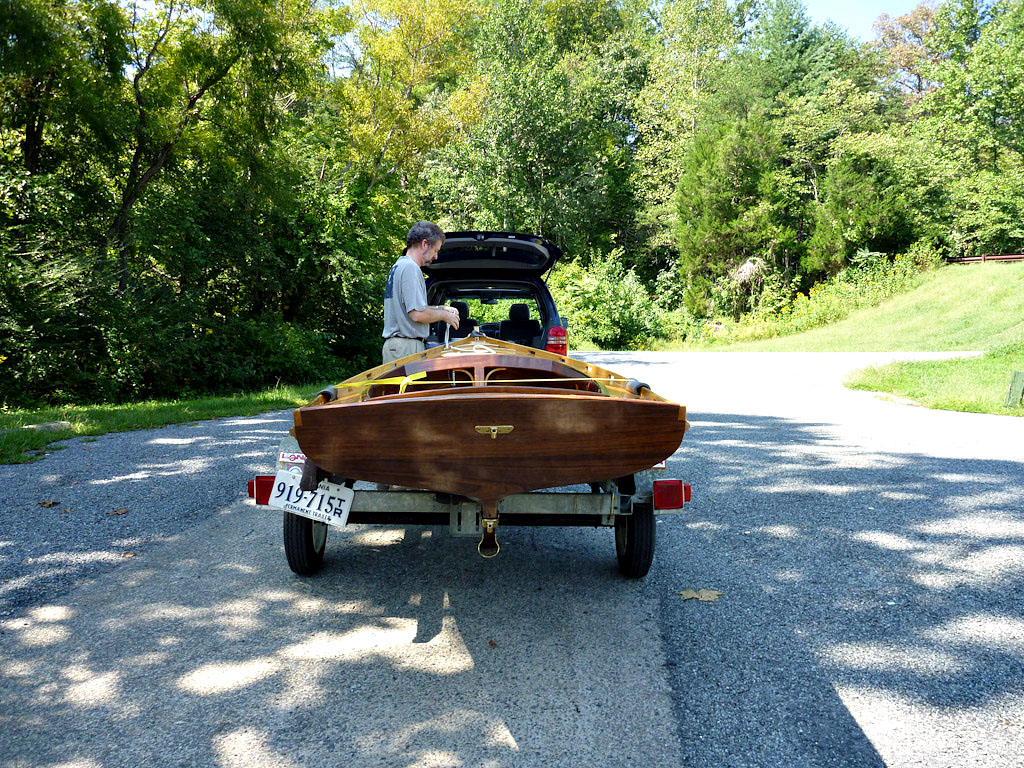
Back to the drawing board. But a good two days with launch and trailering practice, and good rowing for a bonus.
melonseed skiff, mellonseed skiff, melon seed, mellon seed





Fantastic Barry, wonderful to see one of your little gems having her first splash. What a lovely still day you had for a first launch in that picturesque location. Good luck getting the sailing rig finished, and a gentle zephyr for a first sail.
Kind regards from Denis and Kerry.
Congratulations on another milestone Barry. The setting looks almost as perfect as the boat. A fine thing to see such an unqualified and relieved grin on your face.