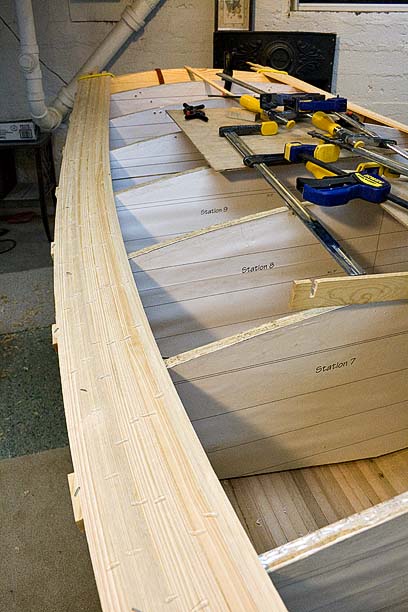
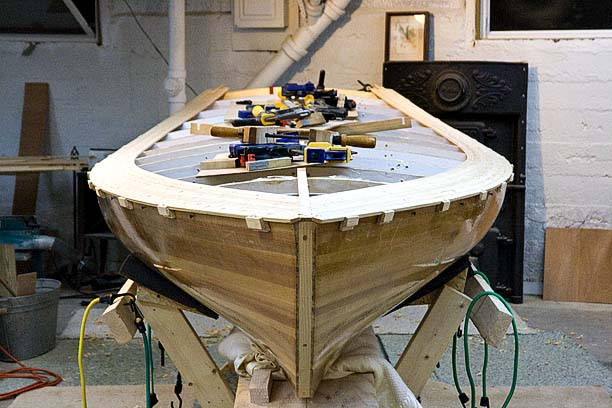
Molds ready for decking
At this point, the interiors are ready for finishing and framing. Since I’ve built the deck camber and crown into the molds, though, I want to use those as forms for stripping the decks. The partially finished decks will then come off while the interior work is completed. Most normal people would build all the framing and then strip the decks down directly on top. There’s a small problem with that, though:
Boat designers and naval architects take exquisite care in modeling, measuring and plotting out the hulls of boats. The rest? Not so much.
For example, Chapelle’s plans give approximately 200 measurements for the hull alone, all accurate to within 1/8”. For the decks and framing, aside from the thickness of the wood used, he gives just one – a number that describes the curvature of the crown. This is pretty standard, and Barto doesn’t do much more than that. All framing locations are approximate, shown drawn on the plans, but no measurements given. This leaves a lot open to interpretation, and accounts for why so many builders end up with unique personal expressions of a boat, even though they’re all working from the same plans. That’s kind of cool, really, but it means every builder is left to figure things out on their own.
As much as possible, I’ll use my molds as a guide for framing; but that will only go so far. There will be a lot of eyeballing in the process, with some shimming and shaving to fit expected. Using the molds to form the decks is a way of hedging against screwups and getting a smooth deck regardless.
I expect the hulls to move some during framing, so am allowing an extra 1/4” overhang all the way around, leaving a little slop to trim off later. I hot glued stops around the sheer to use as guides. Also, since the decks are relatively flat curves I’m using hot glue instead of staples. No staples = no staple holes.
The first several strips again need a lot of clamps. After that, bungies work fine, with a clamp here and there to close things up tight. The hot glue works well – by the time I finish a round of strips, the glue has hardened enough to take off the clamps and bungies and go again while the wet glue dries. Since there’s no cove to hold the wet glue on these strips, I cut a groove into the roller of a grout sealer bottle, and it rolls a smooth consistent film onto the strip edges, with no drips or runs.
All the practice on the miter cuts is paying off now, with nice clean seams on the deck where they’ll be permanently on display.
I considered for a long time building a fun pattern or decorative accent strips into the decks, but was afraid of overdoing it, creating a distraction that would be annoying in the long run. Like a tattoo – you have to love it now and hope you don’t hate it later. In consultation with my resident designer and artist, we determined the wood alone is pretty enough with just the natural curves and grain, with a single plain strip down the middle. If I botch the miters I can change my mind again before glassing and drop in an accent strip. Since the cockpit will be left open, you don’t have to deal with those really troublesome final strips in the center. Bonus!


